To begin, you need a table and volunteers. It is possible to place the Kids’ Corner next to the Society’s Table and have a volunteer supervise both tables, although it is better to have separate supervision. The most successful placement for the Kid’s Corner is near the entrance where kids and their parents will see it right away. The Houston Orchid Society created a very successful Photo Panel to stand at the entrance.
This article will deal with orchid art projects for children. The table held coloring pages, and drawing paper with 2 plants for children to incorporate in a picture. Coloring pages were printed from the Internet and an orchid coloring book.
You need a box of crayons, markers and pencils. I keep a plastic box of each in my “Kid’s Corner” storage box so we can “pick up and go” at show time. When selecting coloring pages on the Internet, we look for accurate pictures with varied levels of coloring difficulty. Search for “An Orchid Coloring Book.” Each page outlines an orchid with its colloquial name as caption. Large illustrations, one to a page, are detailed and accurate enough to interest older children. To make this activity more educational, ask the child to search the show for an orchid similar to the page chosen and color it as closely as possible to the match. Another source is a charming coloring book the AOS used to sell called “Orchid Nonsense Coloring Book” by Marion Ruff Sheehan. Each page has an orchid plant and the animal/person it most resembles. It’s fun and interesting. (I keep paper masters of the coloring pages and you may contact me for copies if you have difficulty locating them.)
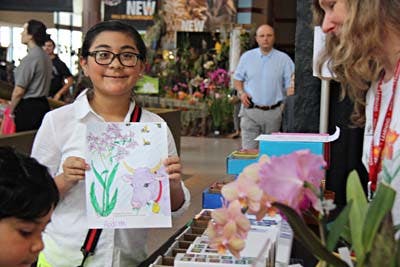
The other art project we have used is simply a pile of drawing paper in front of a plant or two. The child is directed to draw and color a picture using the plant. (Letting the child pick a plant from the displays to incorporate in the drawing may involve the child more in the show; however, please, caution the child and parents not to touch or disturb the displays in any way.)
Another suggestion that has been made is to provide a continuous roll of paper on a table top. Each child who comes to the table gets to add to this community mural depicting orchids, perhaps you can ask the child to draw a favorite part of the display(s) on the paper. Simply roll up one side and unroll the other when the mural gets full. (Idea submitted by Carolyn White, Houston Orchid Society)